Remosse Guide
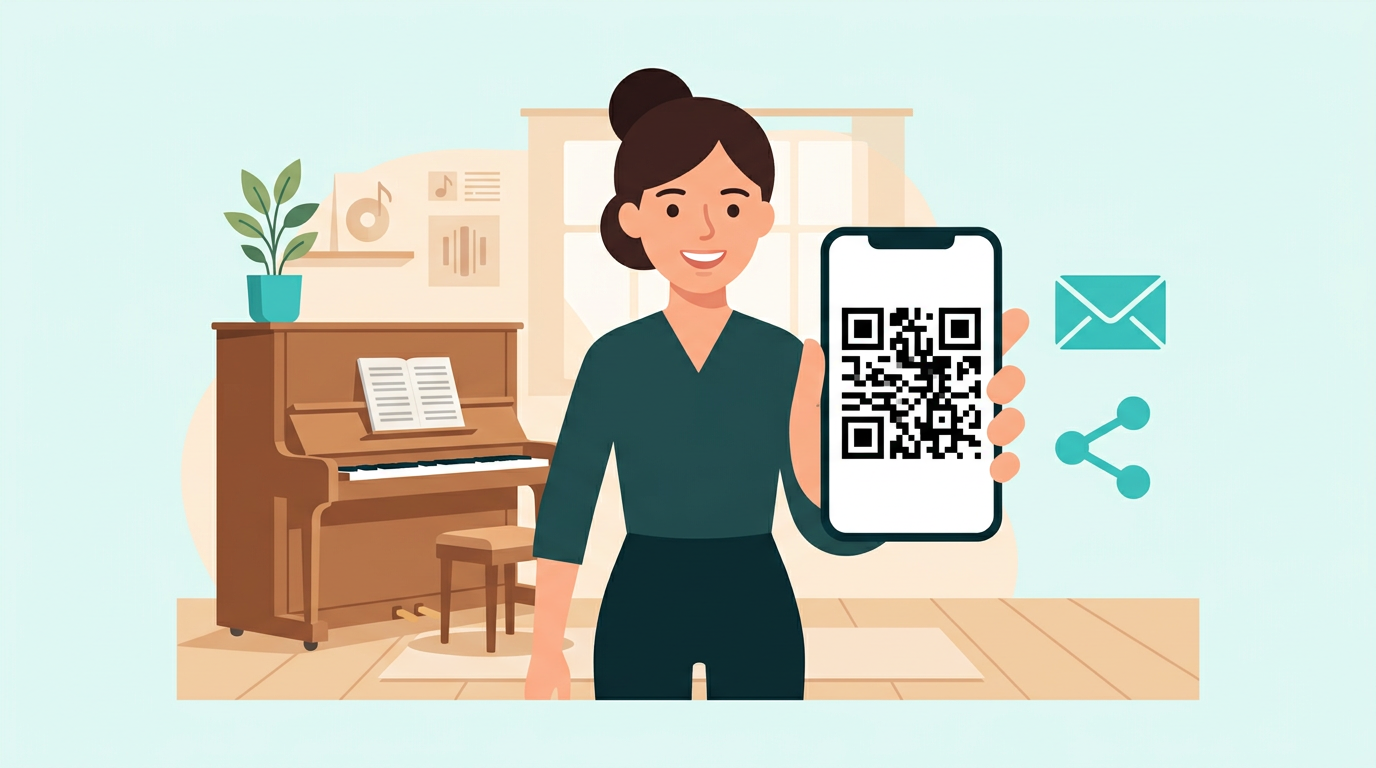
Teachers issue a QR.
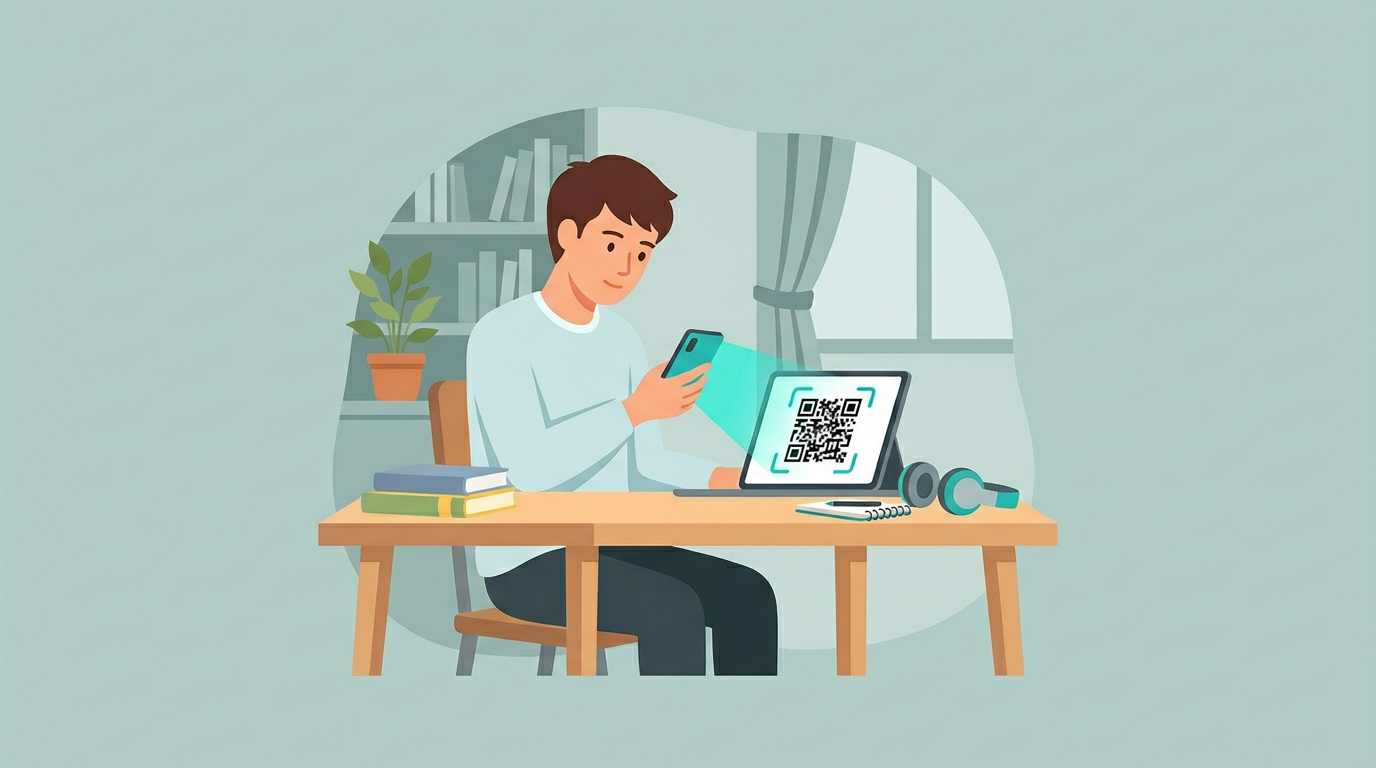
Students scan to join.
Use this guide when setting up a lesson for the first time, or when sending simple instructions to a student.
Pre-lesson Check
Check audio and connection before the lesson
You can check microphone recording, playback, and connection quality in Remosse without another person. This does not create a lesson or use QR invites or lesson time.
1. Open Remosse
Open Remosse on iPhone or iPad.
2. Scan this QR
Use the in-app QR scanner to scan the code.
3. Check audio
Record 5 seconds, play it back, and run a connection check.
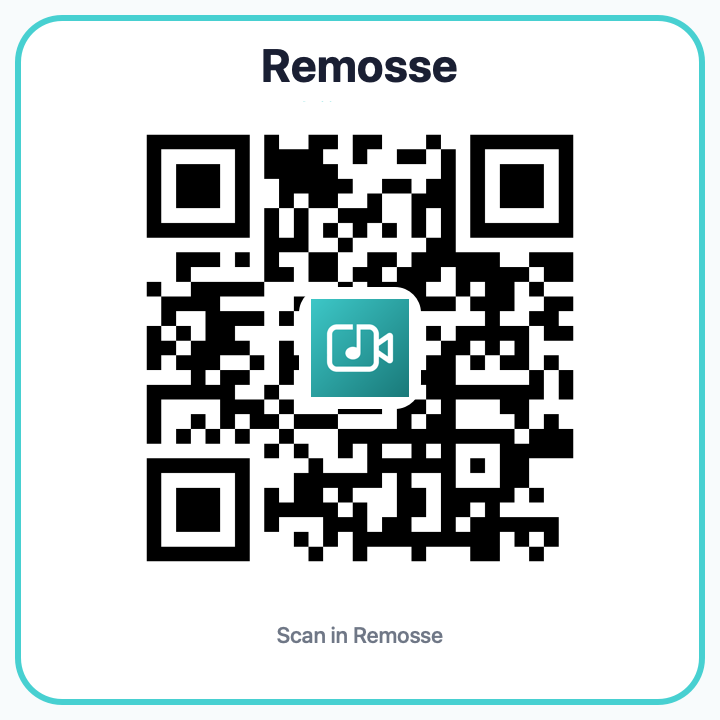
Scan in Remosse
For Teachers
Teacher and host steps
1. Install Remosse
Install Remosse from the App Store on iPhone or iPad.
2. Sign in with Apple
Teachers who issue QR codes sign in and check their trial or plan allowance.
3. Create a lesson
Set the lesson name and scheduled time if needed.
4. Issue a QR code
Choose the lesson length and issue the QR code from the app.
5. Show the QR to the student
Share your screen, show your device, or print the QR code for in-person guidance.
6. Check devices and start
Confirm camera, microphone, and connection before starting the lesson.
For Students
Student and guest steps
Students do not need to create an account. Scan the QR code shown by the teacher in the Remosse app.
1. Install the app
Install Remosse on iPhone or iPad.
2. Scan the QR
Scan the teacher’s QR code inside the Remosse app.
3. Allow camera and microphone
Allow device permissions when asked.
4. Join the lesson
Check video and audio, then join.